
1099 eFiling Process
To start processing forms, navigate to the "Form Selection" screen.
The Form Selection Screen can be found in your accounting/payroll module.
The Form Selection Screen location will vary depending on what accounting/payroll software you are using. As a general rule, if you are having troubles finding the form selection screen, contact your accounting/payroll software support.
Once the 1099 form is chosen from the Federal Form Selection menu, select "OK", "Accept", "Next", "Generate", or "Process".
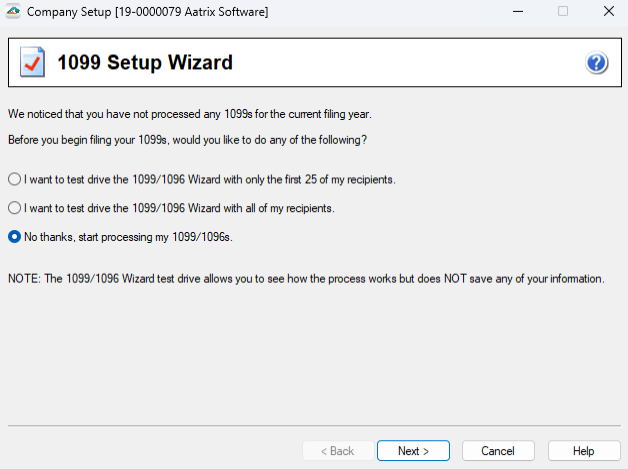
Here the accounting/payroll software will push information over to the 1099 Preparer. The beginning of the 1099 process is the Company Setup
Choosing to test drive the process will let you get familiar with the 1099 Preparer and functionality. However, no data changes will be saved for when you start processing the 1099 forms.
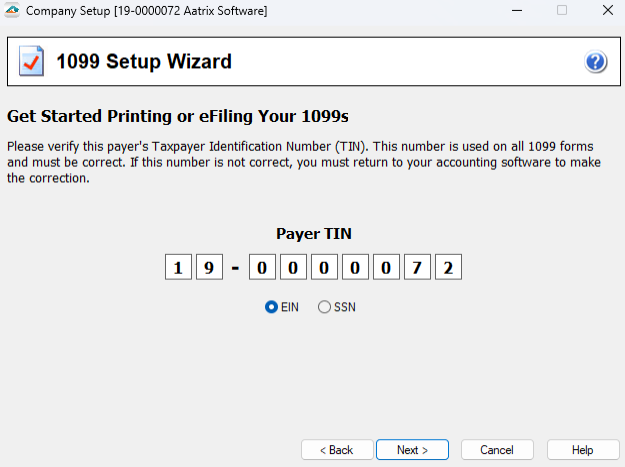
- The Taxpayer Identification Number (TIN) will be on the second screen to display. This number is unable to be edited.
- If your TIN is displaying incorrectly, please contact your accounting/payroll software.
- Company Information must be present in order to continue through the process.
If this screen does not automatically populate with the company information, you are able to manually type in this information. Please note that the IRS will validate the TIN to the Company Name and reject the filing if this is not accurately reported. Check with the company's IRS account or with any official correspondence from the IRS.
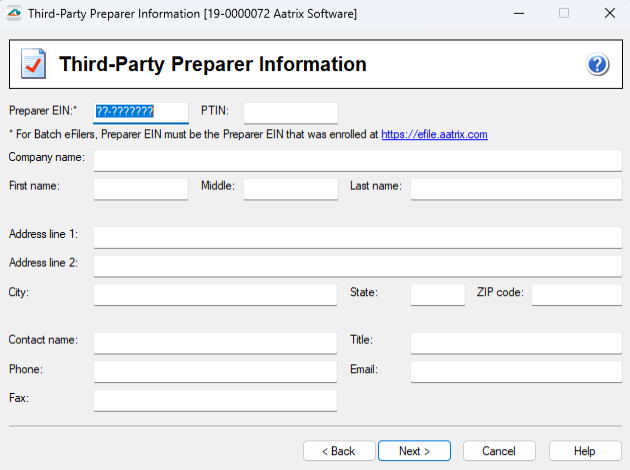
- Indicate if you are filing on behalf of an employer or as a Third Party Paid Tax Preparer. If you would like to learn more about how you can save with Aatrix when you are a third party filing on behalf of 10 or more companies click here.

- If the option I am a Third Party Paid Tax Preparer is chosen please enter the third party information on the next screen to continue through the process.
- The State & Local Tax Items window allows you to enter state withholding tax account numbers and local tax items to be included on the 1099 report.
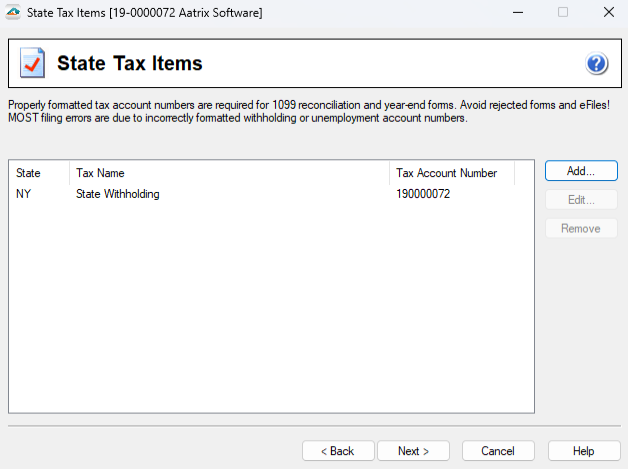
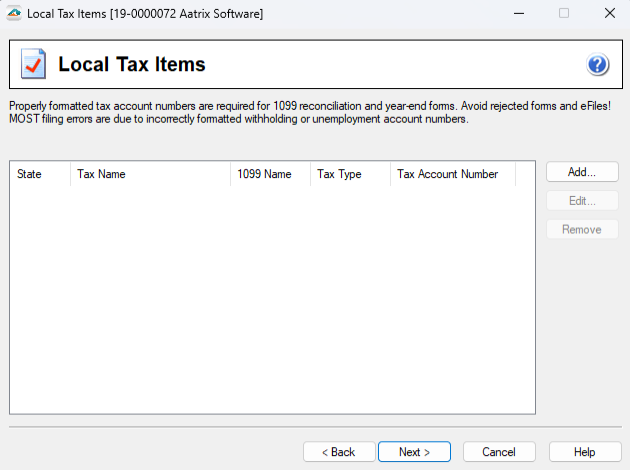
Note: Any state and local tax items saved inside your payroll software can be passed to the company setup. Be sure to review this windows content to make sure all of your state and local tax items have been passed properly. You can manually add state and local tax items in this window if any are missing.
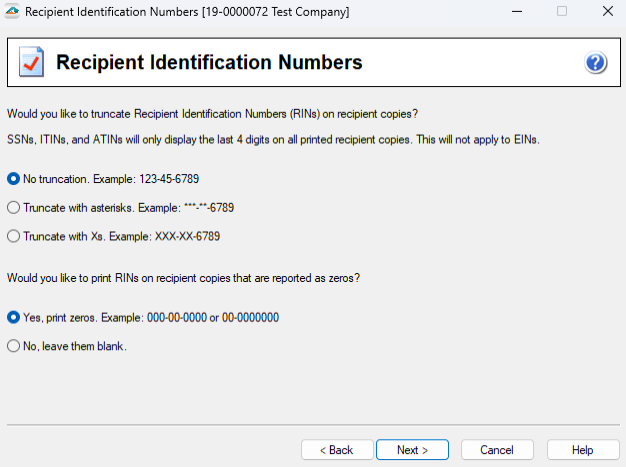
This next window has different Recipient Identification Number Truncation options.
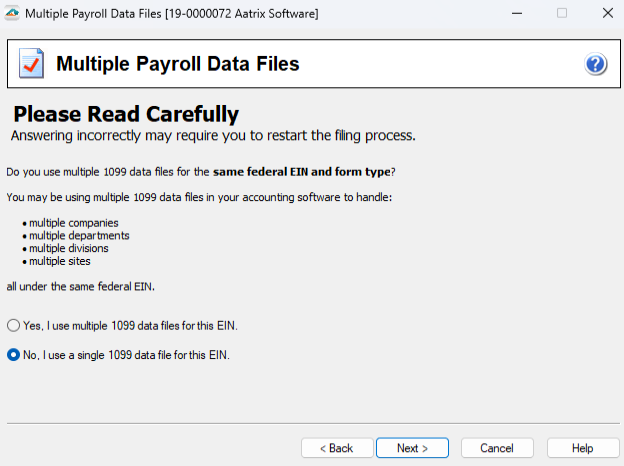
If you have Multiple 1099 Data Files for the same TIN, a merge of databases must be completed. Aatrix does not allow multiple filings of the same form type for one TIN. Choose “Yes” and complete the merging process before proceeding. See Merging for more information.
If multiple databases does not apply to your company, keep the selection “No” and proceed to the 1099 Preparer.
Once the Company Setup is completed, the 1099 Preparer will open for you to review and process your information.
Note: If any information is not passed from your accounting/payroll software there is the capability to enter information manually or import a CSV file on a per column basis.- Step 1
Information will automatically be populated when entering into the 1099 Preparer. If information is not present when entering into the Preparer you will be required to fill in the missing information before continuing.
- Step 2
Recipient information will be validated during this step. To adjust any recipient information you can manually change it in any of the cells above.
Please take this time to visually verify the information being displayed. Once you feel comfortable with the data presented in front of you, click the Next button at the top of the 1099 Preparer.
 Notes: If any errors are present in the information passed into the 1099 Preparer an error message will appear after clicking Next and flag all errors in red. Clicking Go Back and Correct will allow you to make the corrections to the highlighted errors in red.
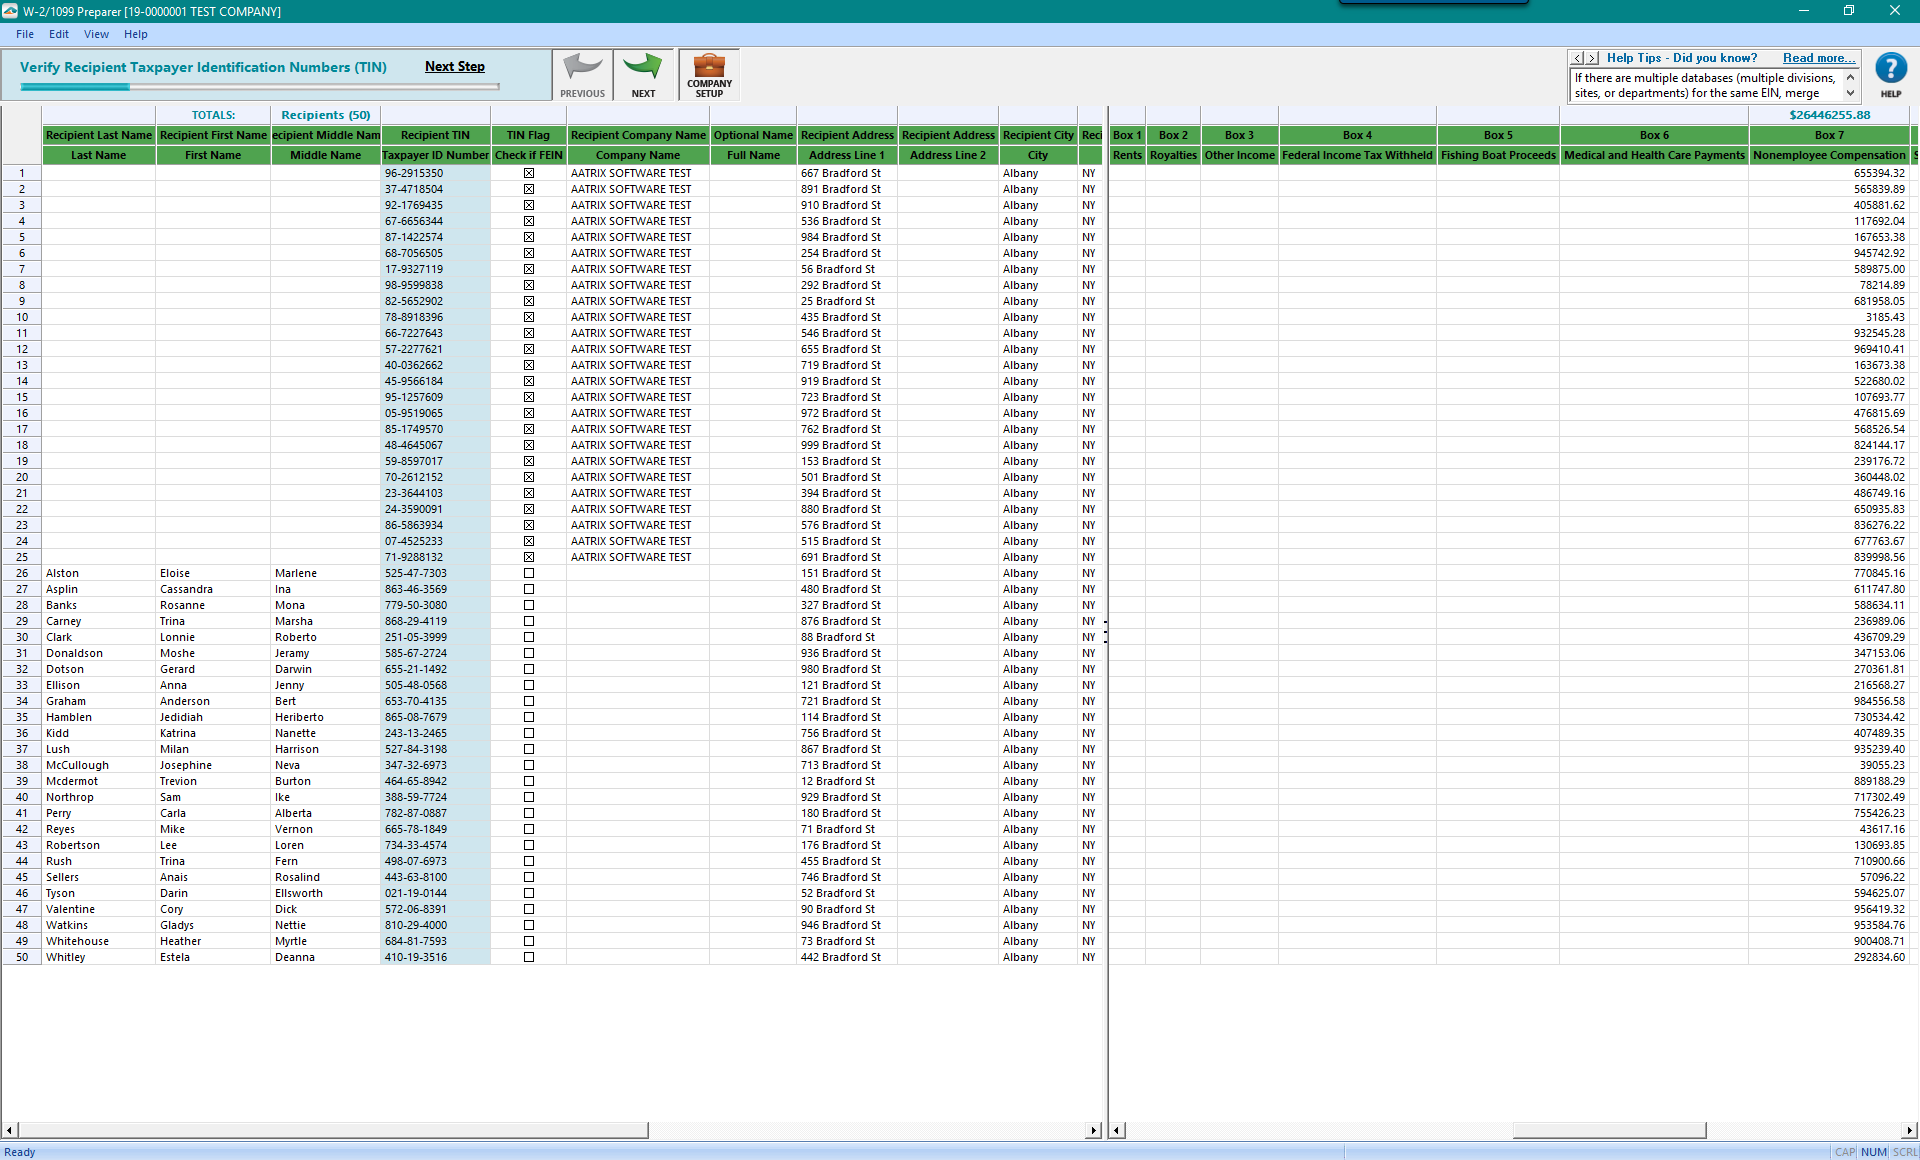
- Step 3
Recipient TIN Numbers will be verified during this step. Any recipient TIN numbers that should be reported as a Federal Employer Identification Number (FEIN) should have the “Check If FEIN” checkbox is checked so the format is XX-XXXXXXX. If the “Check If FEIN” checkbox is not checked the recipient TIN will be reported is an SSN format XXX-XX-XXXX.
Please take this time to visually verify the information being displayed. Once you feel comfortable with the data presented in front of you, click the Next button at the top of the 1099 Preparer.
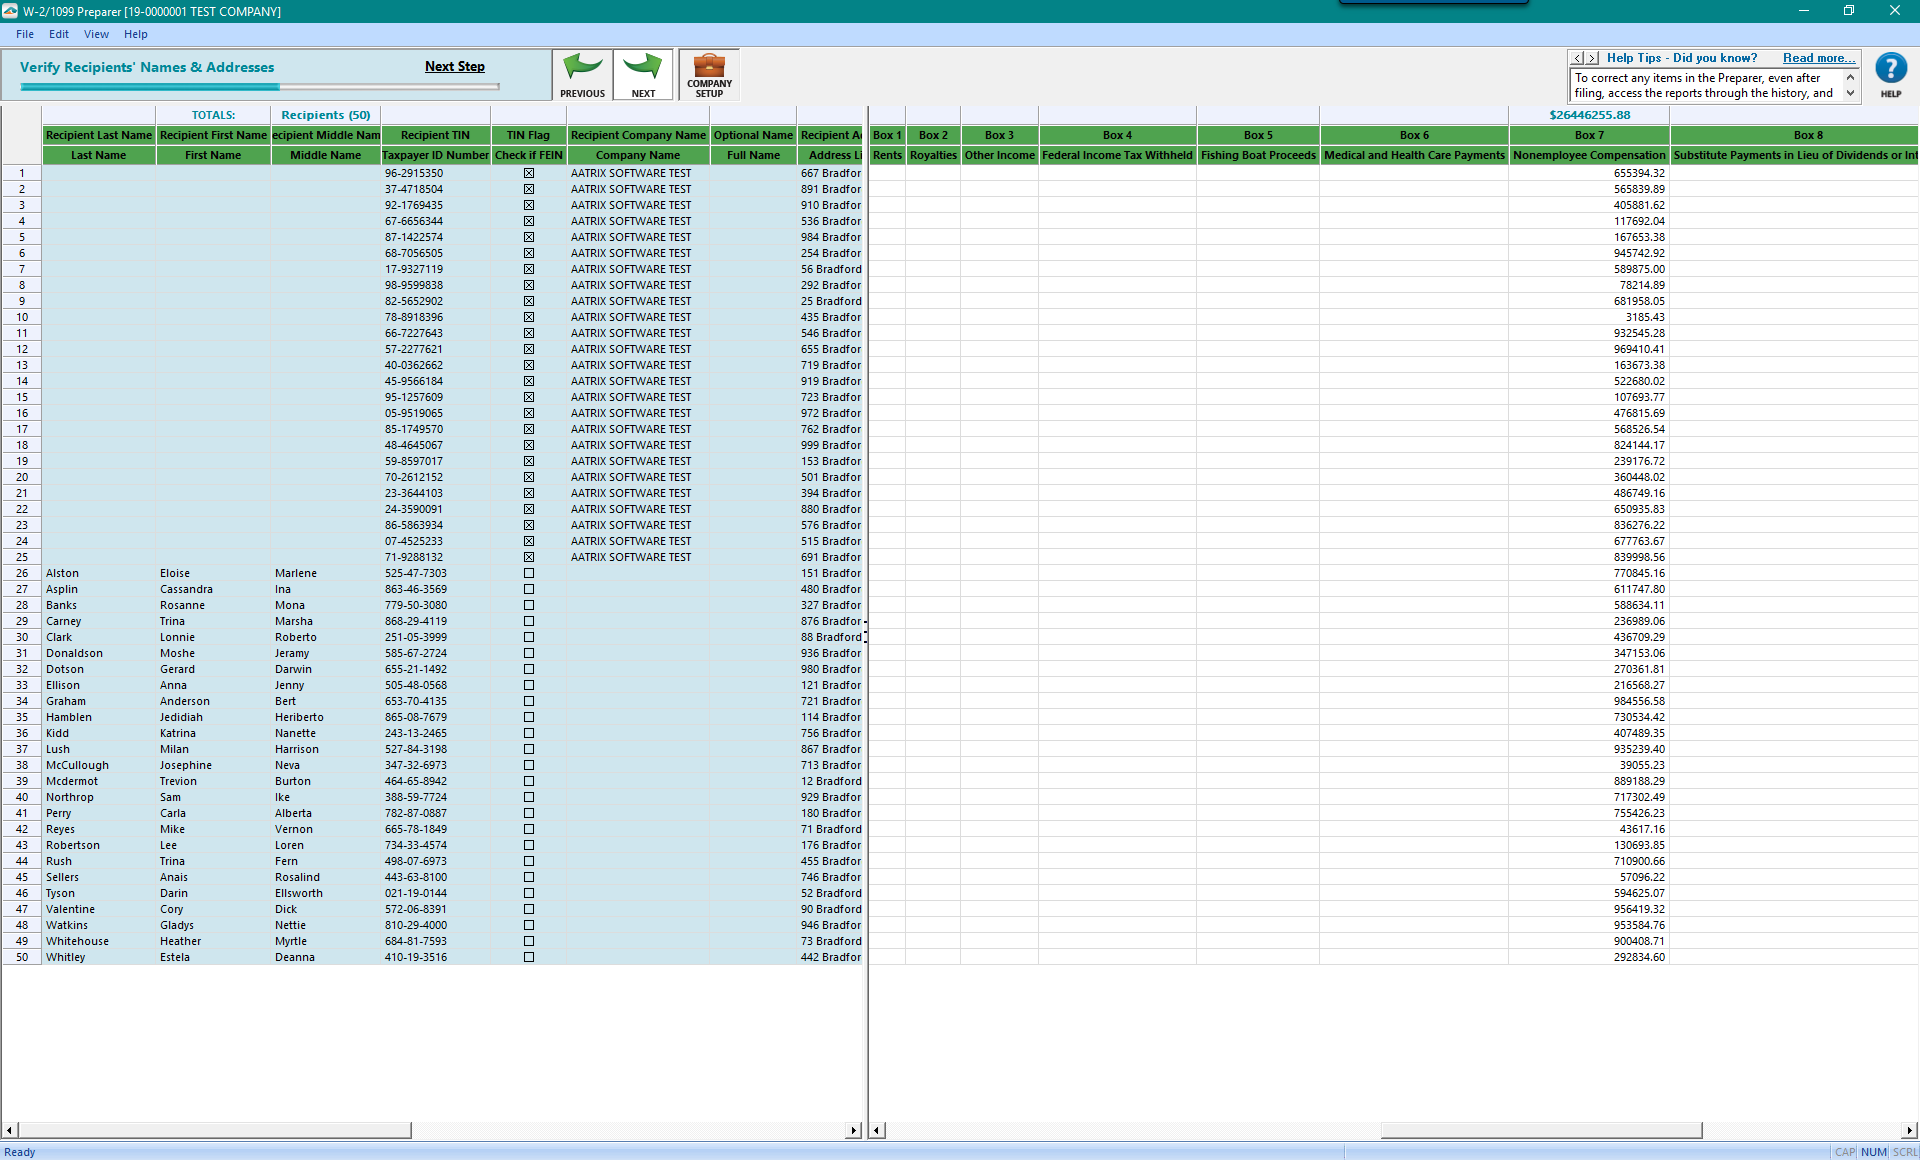
- Step 4
This step will verify Recipient Names and Addresses. The main focus of this step is to ensure you have either a company name for FEIN recipients or a first name and last name for SSN recipients. This step will also verify your recipient’s address to confirm you have the proper state address line 1 and 2, city, state abbreviation and zip code.
 Note: If any errors are present in the information passed into the 1099 Preparer an error message will appear after clicking Next and flag all errors in red. Clicking Go Back and Correct will allow you to make the corrections to the highlighted errors in red.
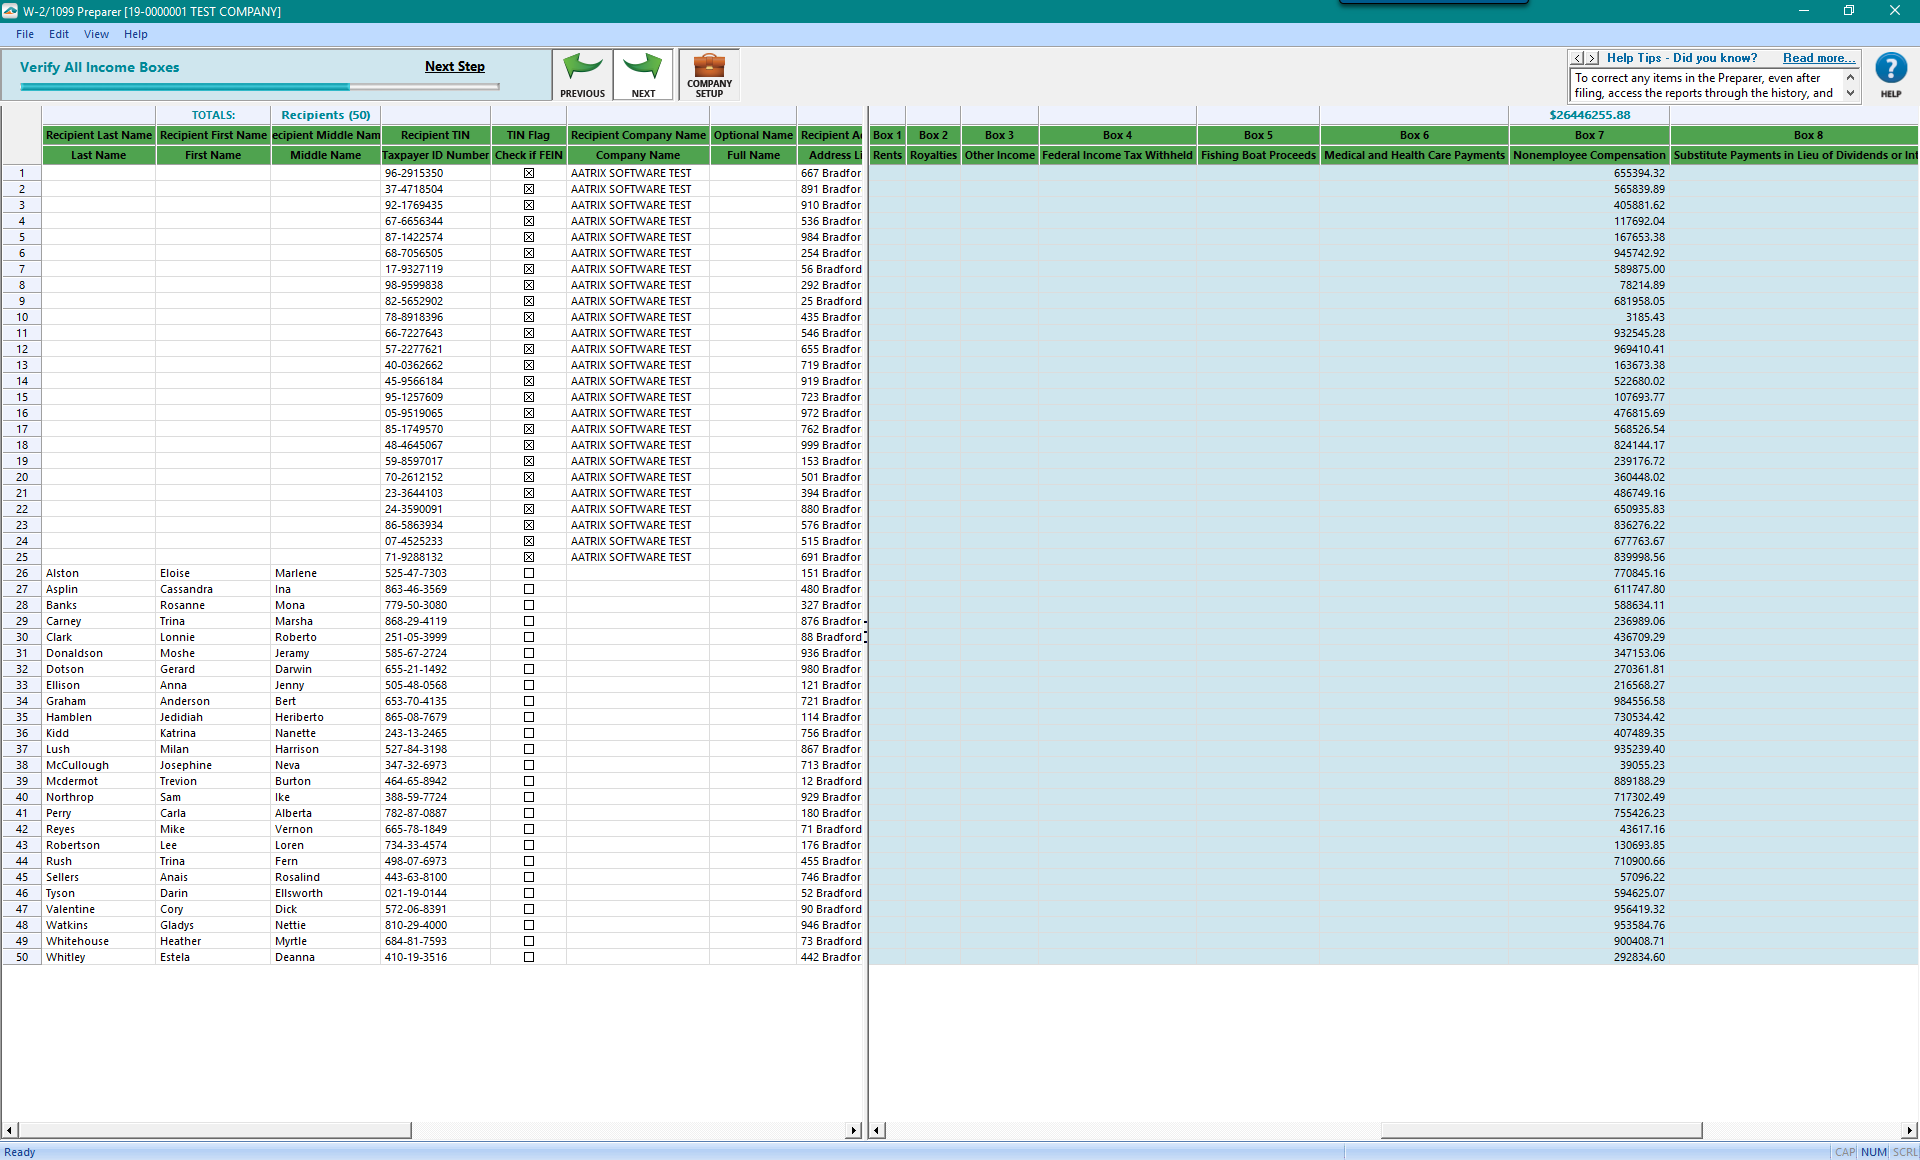
- Step 5
During this step Recipient Income boxes will be verified. To adjust any recipient information you can manually change it in any of the cells above.
Please take this time to visually verify the information being displayed. Once you feel comfortable with the data presented in front of you, click the Next button at the top of the 1099 Preparer.
Notes: If any errors are present in the information passed into the 1099 Preparer an error message will appear after clicking Next and flag all errors in red. Clicking Go Back and Correct will allow you to make the corrections to the highlighted errors in red.
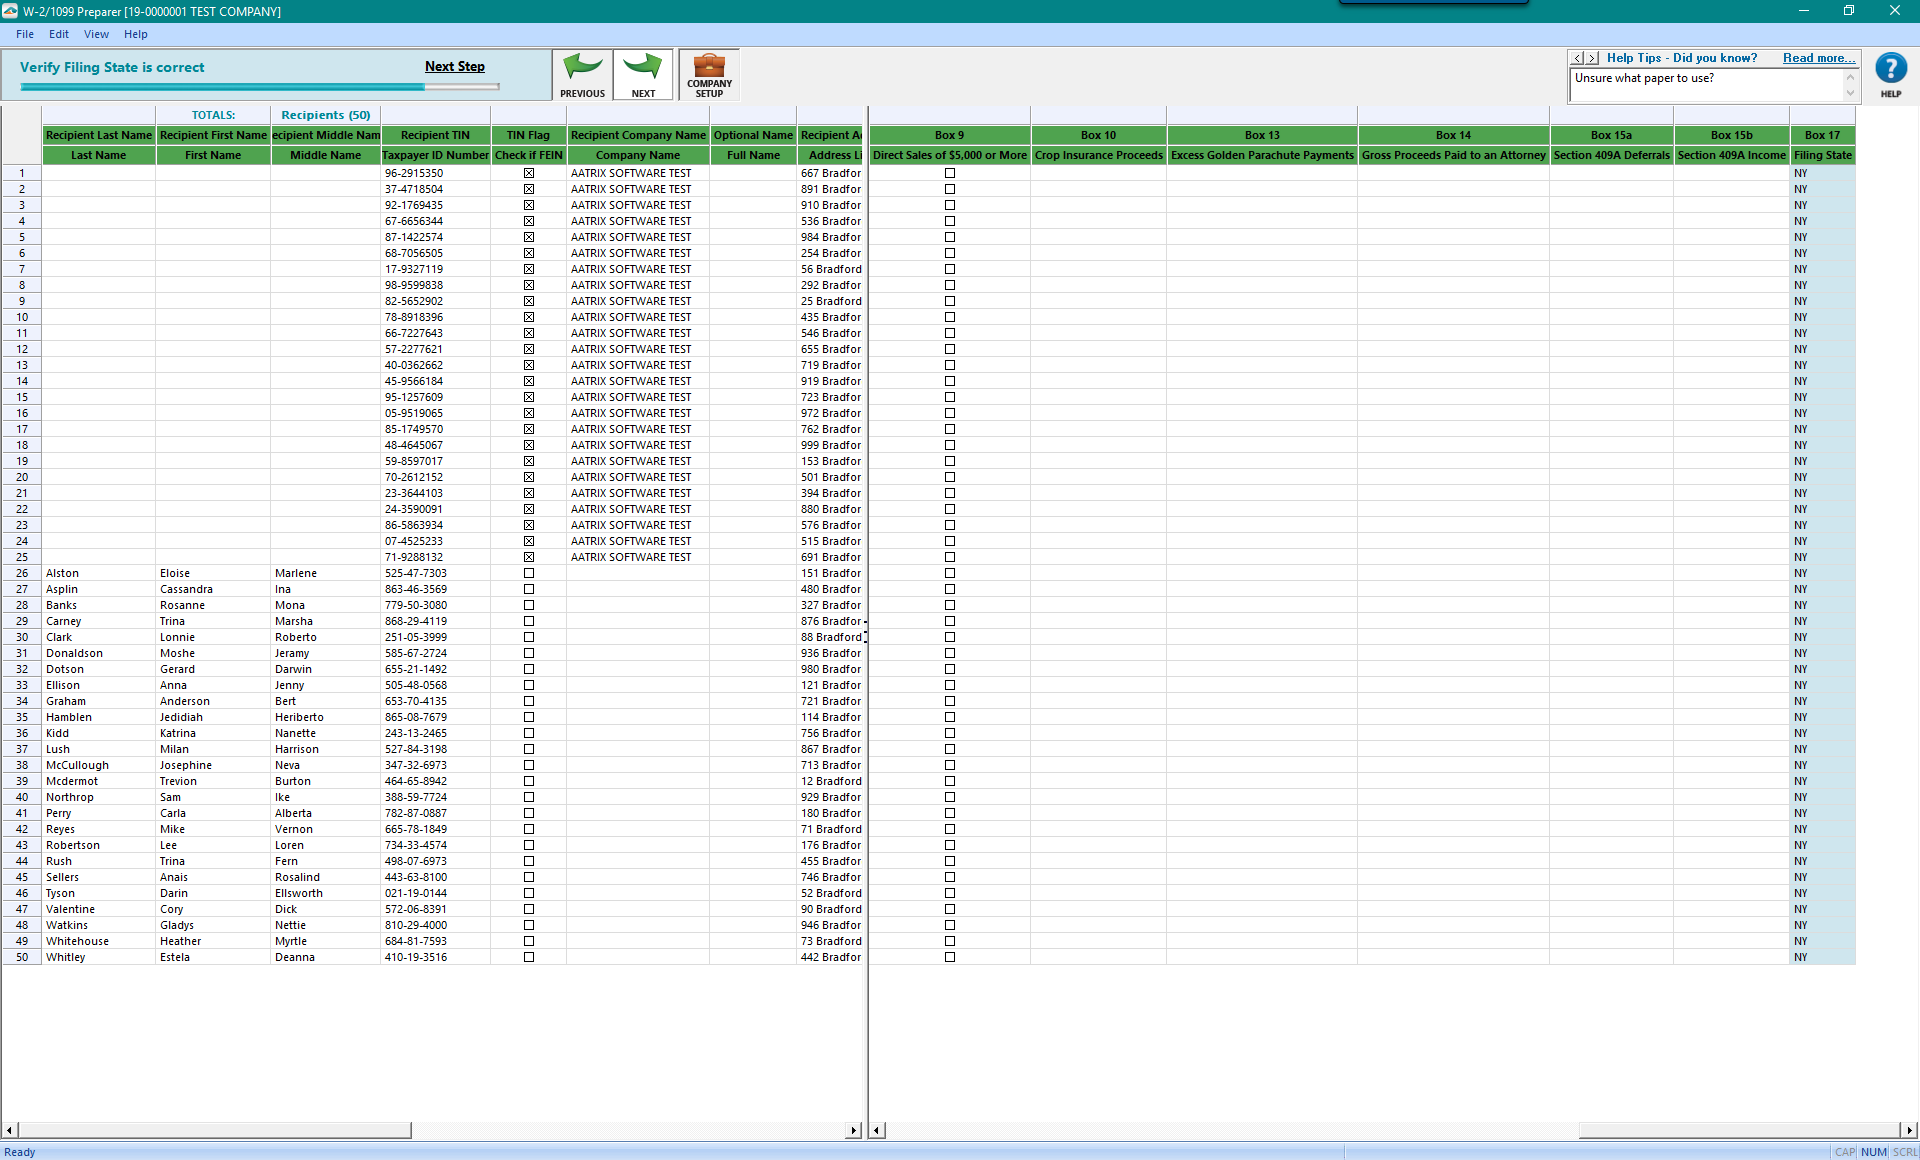
Step 6
In the above step the Filing State for each recipient will be checked to ensure it is valid.. Look through the list of Filing States listed for each recipient then click Next when ready to continue forward.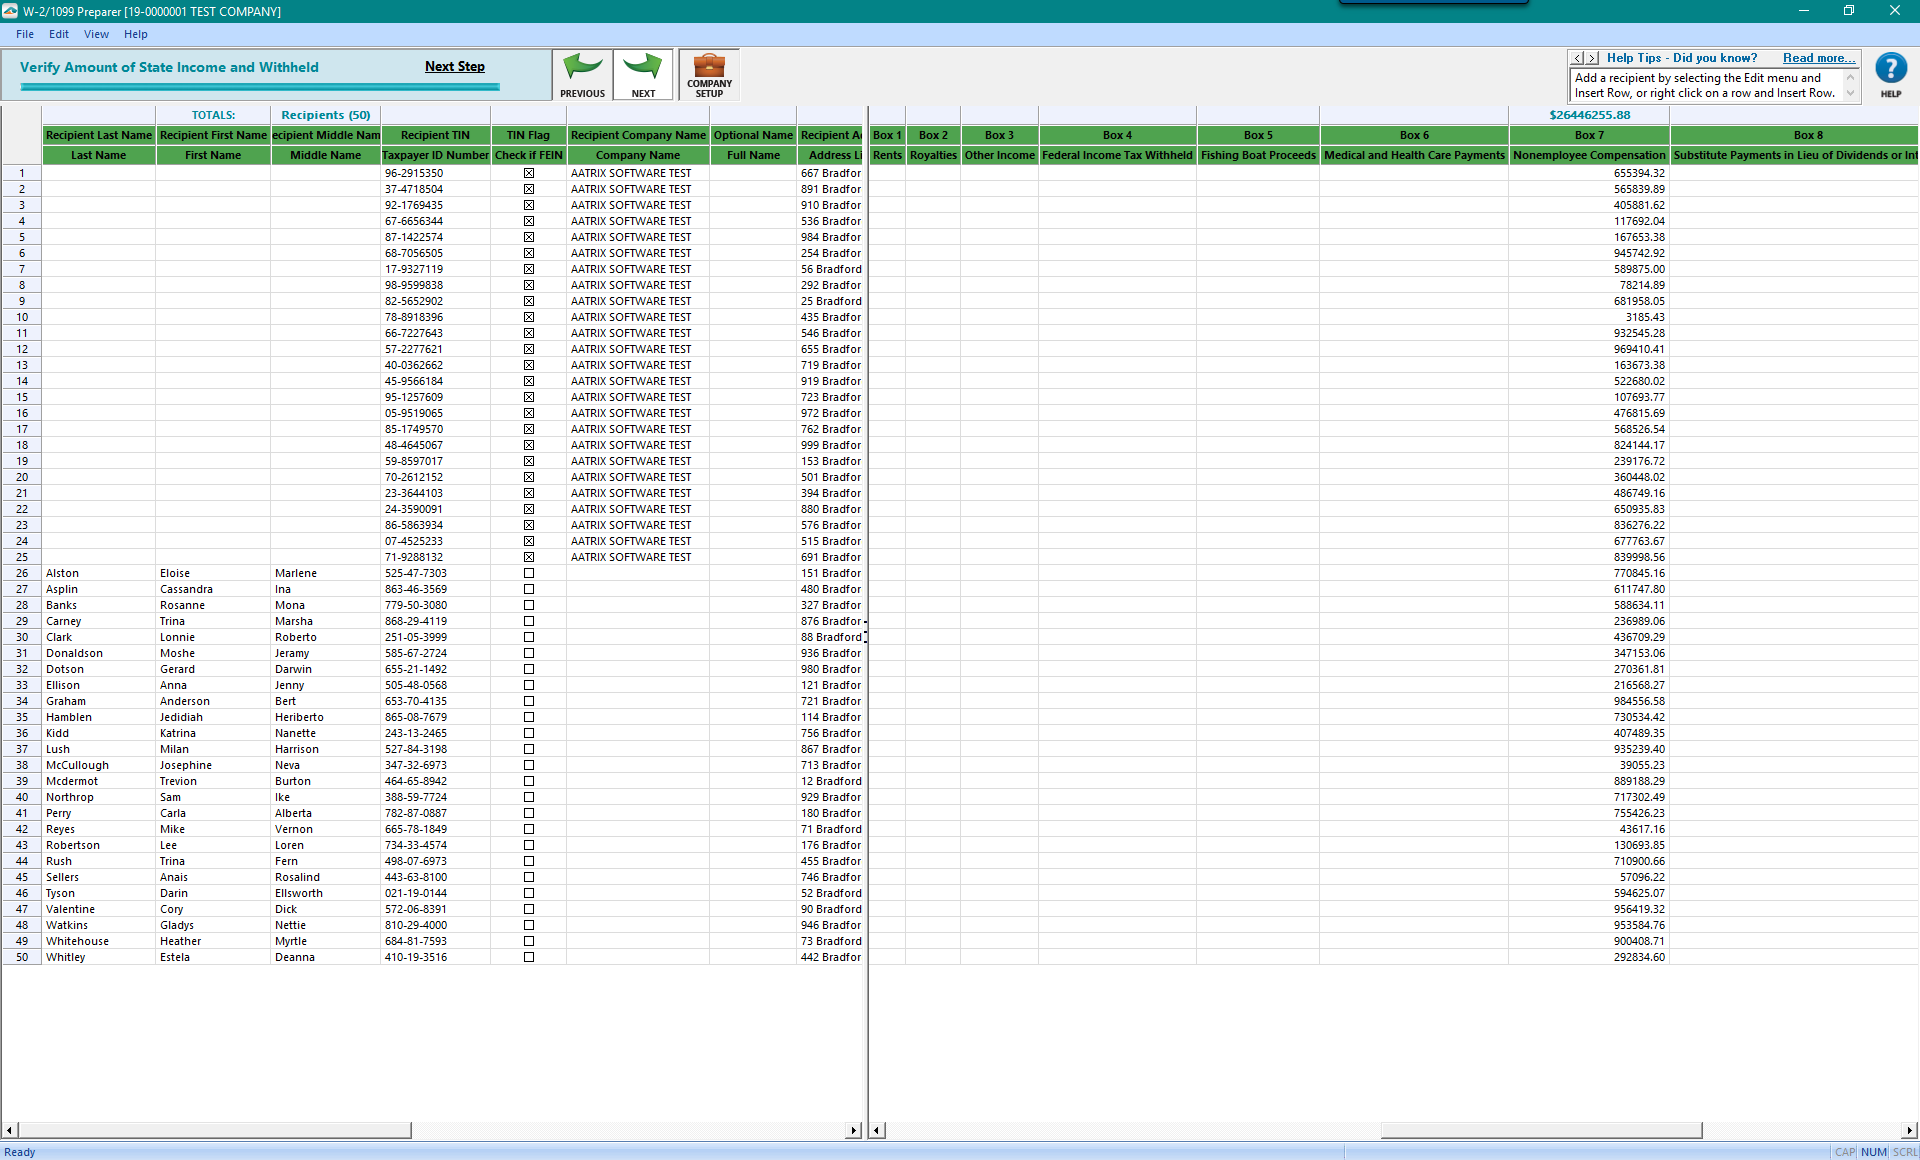
Step 7
In this final step recipient State Income and Tax Withheld will be verified if any data is present. This is your last chance to verify recipient information before going forward to view the data presented on electronic government forms. Click Next to continue through the process.
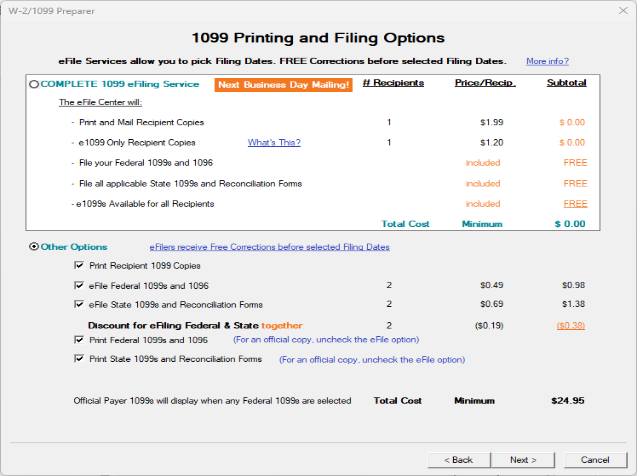
The Printing and eFiling options screen shown below will allow you to pick and choose the options that best suits your company’s needs.
Complete eFiling Service Options:
Aatrix will print and mail employees copies directly to the employee.
Host electronic e1099s for all recipients.
Provide electronic only for selected recipients.
eFile the Federal copies 1099 & 1096 to the IRS
eFile the State copies 1099, 1096 and any Reconciliation Forms to the State.
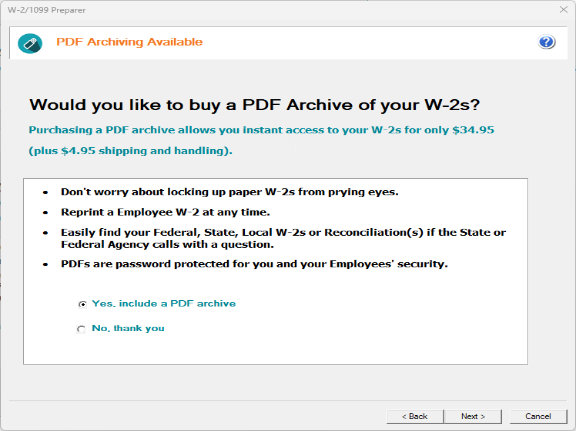
PDF Archives are only able to be purchased during the eFile session if the Complete 1099 eFiling Service was selected.
The PDF archive will be mailed directly to the company as a password protected USB drive with all copies of the filing that was submitted at the time of purchase.
Note: If corrections are made to the filing, a new PDF Archive is not automatically sent.
The forms displayed on the Review Data screen will vary depending on the options selected previously for printing and eFiling.
The forms are listed in the order they will display in the Forms Viewer in the next step.
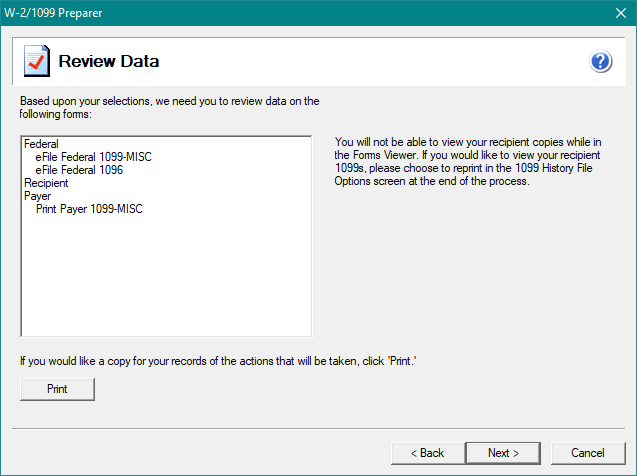
- After clicking Next the Forms Viewer will display the forms based on the previous selections.
The top report bar will show you how many reports will display, what report you’re on, and the report name.
Use the green arrows to switch to additional pages for the current report.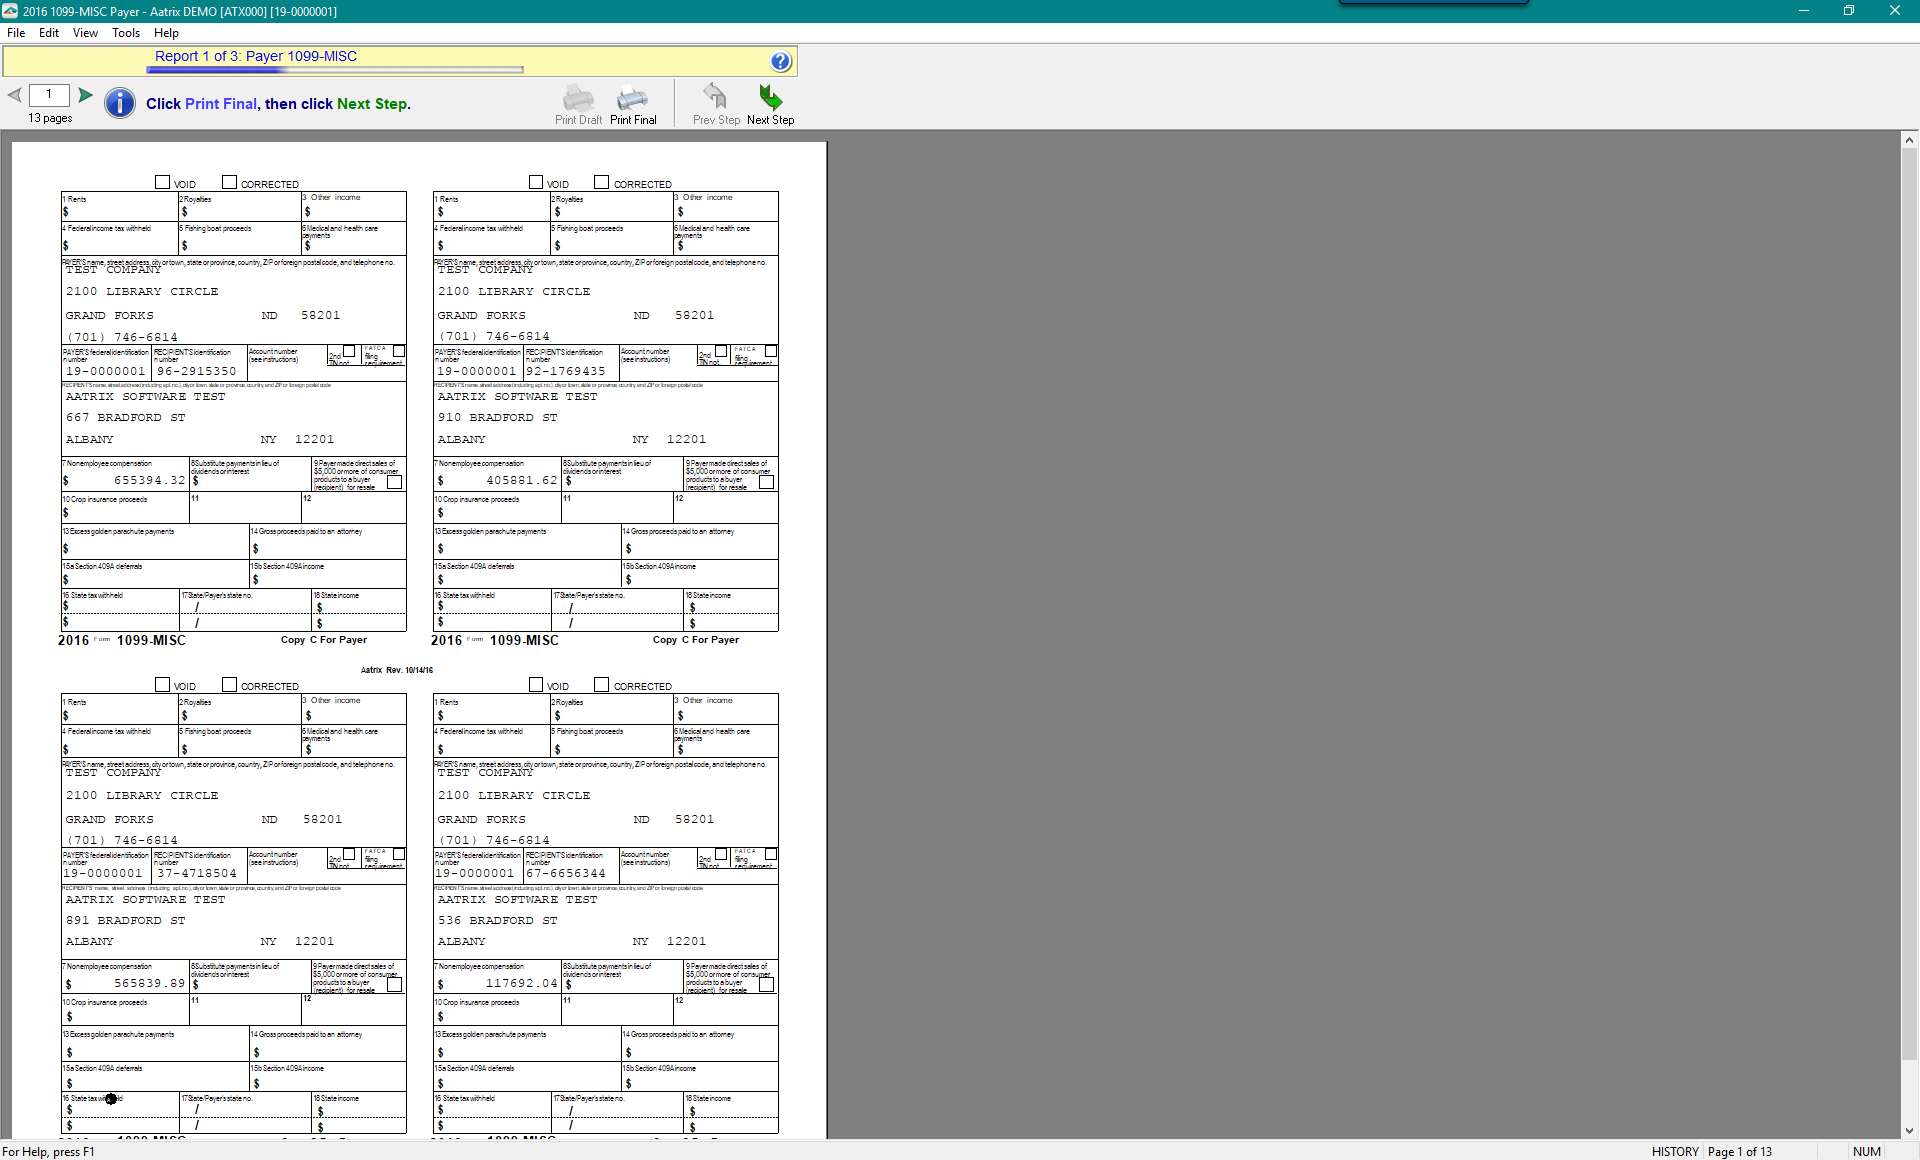 Note: “Print Copy/Draft” will print the report with a “Records Copy” water mark. Selecting “Next Step” will prompt you to print a clean printed report unless it was selected to be electronically filed.
Once all reports have been reviewed and printed, the eFile Session will start up.
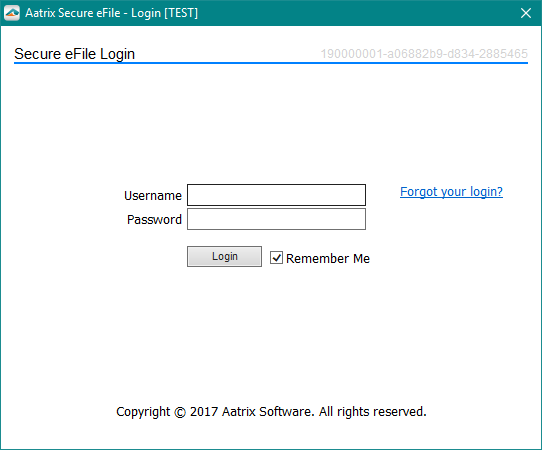
If not previously enrolled the option to navigate to efile.aatrix.com will be available for enrolling.
Once enrolling is completed please navigate back to the eFile Session screen and choose “I have enrolled and have my username and password”.
When you log into the eFile Session continue through the screens until an AFID (Aatrix Filing ID) number is shown and issued to you.
- When a filing is submitted an automatic confirmation email will be sent to the email address on file with Aatrix. The confirmation email will contain the filing details made during the 1099 process.
Once the eFile Session is closed the e1099 Wizard will automatically begin if the Complete 1099 eFiling Service was selected. Follow the screens to email or print off your employees access letters to access the e1099s.
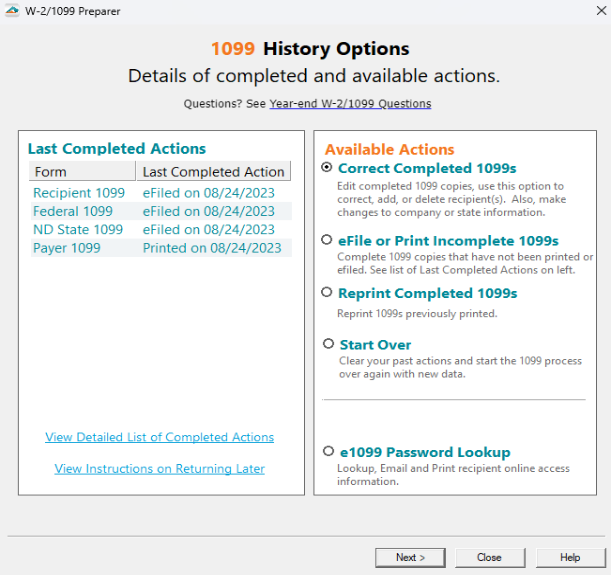
- The History File Options screen will display at the end of the 1099 Process.
See list of recently completed actions
Note: If previous actions had been completed choose to “View Detailed List of Completed Actions”.View Instructions on how to return to the History File Options screen at a later time.
Reprint already printed copies.
eFile or print additional reports.
Corrected an already completed eFile or printed filing.
Start the 1099 process over
Note: This option is not always available.e1099 password lookup, send e1099 emails, print access letters
Related Pages:
Covered Individual Information
Learn about covered individuals.
Indicate the Combining of W-2 and 1095s
Learn about saving money by combining W-2s and 1095s.
1095-B eFiling Process
Learn more about the 1095-B e-Filing Process with the Aatrix ACA Preparer.
Importing a CSV File
Learn about importing a CSV into the ACA Preparer.
1095-C eFiling Process
Learn more about the 1095-C e-Filing Process with the Aatrix ACA Preparer.