
Process
Last modified by Derek K on 2024/02/07 22:29
For e1095s, there are two (2) ways to start this process.
- (1) The first screen is accessed by going to the History or existing forms in your payroll software.
- Once the History is open, select the 1094/1095 Record copy of the filing. Select the report, and click Edit. This screen is called the History File Options. Here you will select the radio button beside e1095 Password Lookup and click Next.
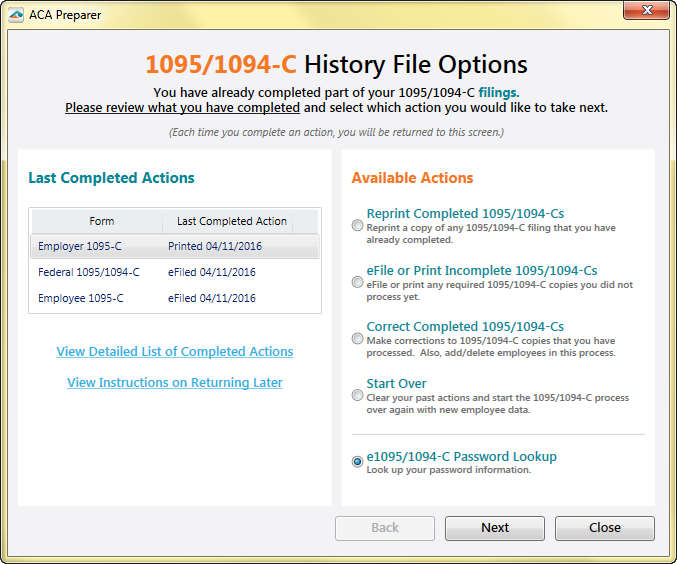
- The next screen will have the option to either email the employees the passwords to their e1095, or print it off to hand it to them.
- (2) The screenshot below shows the options available after eFiling the 1095s.
Here you can click Yes, take me to the employee email selection screen and then hit Next. This option is also accessible after eFiling the 1095s.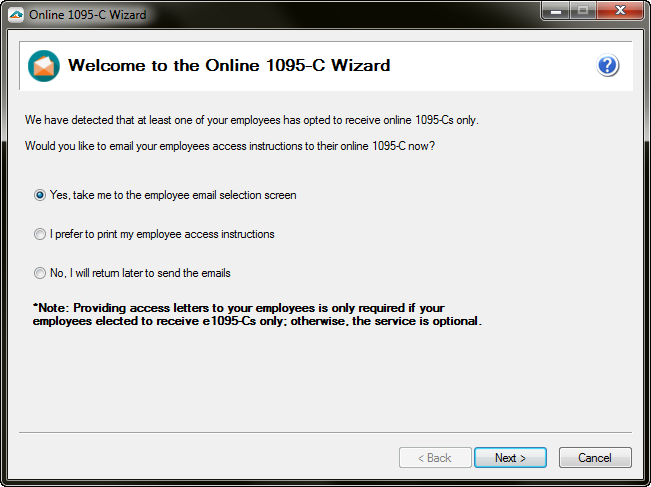
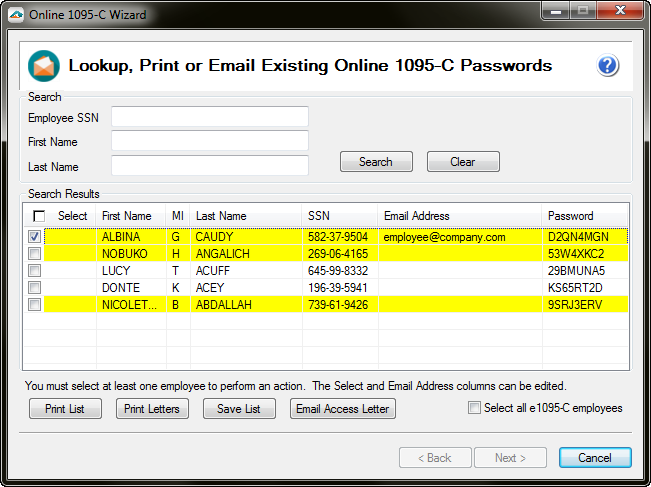
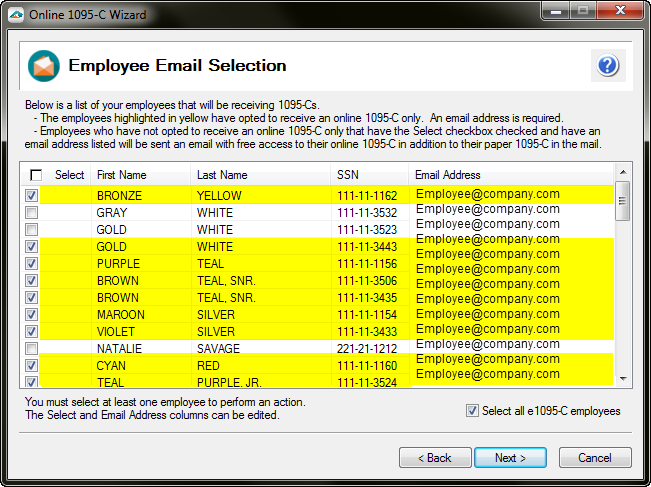
- The next screen allows you to search for the employee or show all employees. Select the employees who are getting the e1095s. If all employees are getting the e1095s, you can select all. Once the employees are selected, hit the Next button or Email Access Letter button.
- Enter the email address that you would like the emails to be sent from.
Note: If your email server cannot be accessed, you will have a chance to enter in information to get connected. Some email servers may view this process as spam and will block the emails from being sent. Check with your email administrator to see if this can be adjusted temporarily or have the email whitelisted for this process.
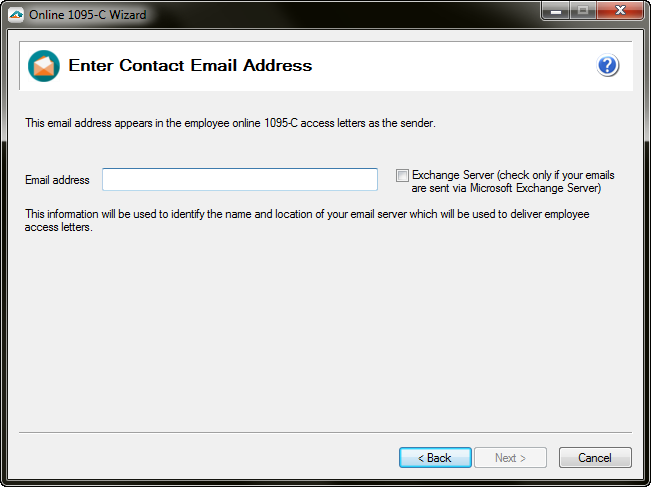
- A test email will be sent to your email address. Once the email is received, select Yes you have received the email and hit the Next button.
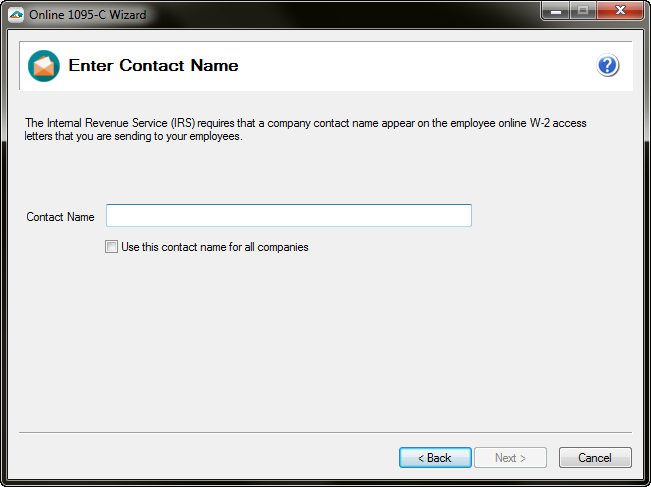
- On this screen, please enter in the Contact Name that you want to appear on the e1095 access letter sent to employees.
- On this screen, select the Send Now button. Please note that emails will be sent in batches of 15 employees at a time to prevent the emails from being deleted as spam.
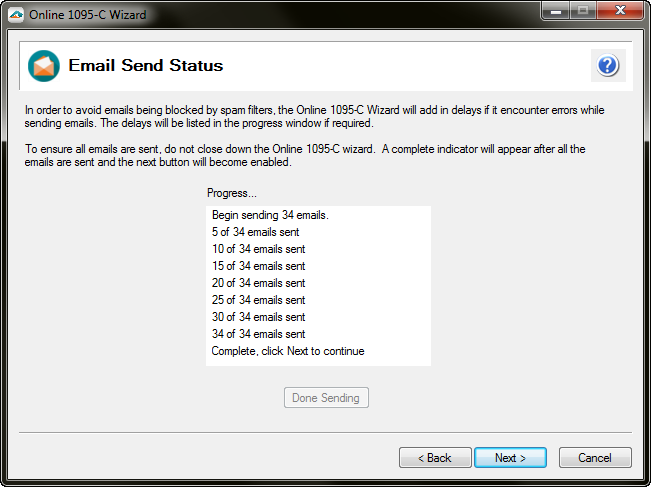
- Once the process is complete, select the Next button.
- The emails have been sent successfully. You can now select that you are finished or print the access letters.
- If you have selected that you’re finished, the next screen gives instructions on how to get back to the history of the e1095s. You can select the "Finish" button to close out.
- You are now done sending the information to the employees for their e1095s. Please note their username is the employees’ SSN (Social Security Number) and the password is randomly generated by e1095 Wizard.